Leave Your Message

2026 How to Replace Spark Plugs Step by Step?

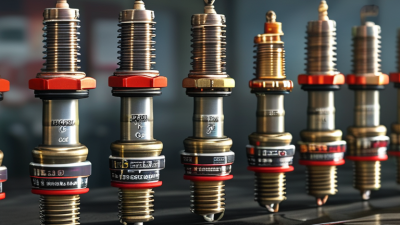
Replacing spark plugs can improve ignition quality, starting performance, and engine smoothness. This 2026 guide explains Spark Plug Replacement with practical steps for common gasoline vehicles.

A careful job begins with the vehicle’s service manual. It identifies the correct plug type, electrode gap, tightening torque, and replacement interval. These details differ between engines, even within the same model family. Never choose plugs by appearance alone. Use the vehicle identification number when parts listings seem unclear.

Work only on a completely cool engine. Hot aluminum threads can be damaged easily. A small mistake matters. Gather a spark plug socket, extension, torque wrench, gap gauge, dielectric grease, and compressed air. Remove one ignition coil or plug wire at a time, then keep each component near its original cylinder. Dirt around the plug well should be blown away before removal, not after.

The guide describes how to loosen old plugs, inspect their condition, set the new gap, and tighten each plug correctly. It also explains warning signs, including cracked ceramic, oil contamination, damaged threads, and unusual electrode wear. These clues may reveal deeper ignition, fueling, or engine problems. Do not force a plug that resists removal. Professional inspection is safer when threads feel rough or access is restricted.

Even experienced technicians can overlook a connector or misread a torque specification. Check your work twice. After installation, start the engine and listen for uneven running, misfires, or warning lights. A short road test can confirm the repair, but it cannot replace proper diagnosis.
2026 How to Replace Spark Plugs Step by Step?

Safety Checks and Tools Needed Before Replacing Spark Plugs

Before replacing spark plugs, let the engine cool completely. A warm cylinder head can cause burns or damage the threads. Park on level ground, engage the parking brake, and remove the ignition key. Keep the work area dry and well ventilated. Disconnect the negative battery cable if the vehicle manual recommends it.

Gather a spark plug socket, a ratchet, a suitable extension, a torque wrench, and a gap gauge. You may also need a flashlight, clean gloves, eye protection, and a small brush. Use compressed air carefully around each plug well before removal. Dirt can fall into the cylinder. Check the service manual for the correct plug specification, tightening torque, and removal sequence. These details vary between engines.

Work on one plug at a time. This reduces the risk of mixing ignition leads or coil connections. Inspect each boot for oil, cracks, or moisture. Do not force a plug that feels seized. Stop and reassess the threads. I once rushed this step and had to clean debris from the socket before continuing. That mistake was avoidable. A torque wrench is important because hand-tightening feels more reliable than it really is. Apply only the lubricant or anti-seize recommended by the vehicle manufacturer. Extra compound can change the final tightening force. Keep removed parts in a clean tray, not on the engine.

Locate the Spark Plugs and Remove the Ignition Components

Park on level ground, let the engine cool, and disconnect the negative battery cable. The engine may look quiet, but stored electrical energy can still surprise you. S&P Global Mobility reported that the average U.S. light vehicle age reached 12.6 years in 2024. Older wiring deserves patience, not force.

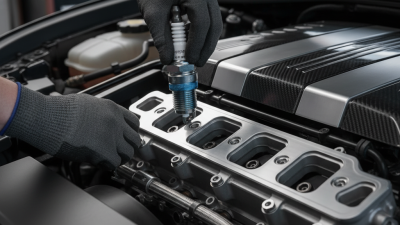
Locate the spark plugs beneath the ignition coils or plug wires. Use the service manual to confirm their positions. Take a clear photo before removal. Label each connector if the layout feels confusing. Press the locking tab before pulling a connector. Never tug the wires. Remove the retaining bolt, then lift each coil straight upward. A gentle twist can release a stuck rubber boot. Inspect the boot for oil, cracks, or carbon tracking. I once rushed this step and disturbed grit around the plug well. That mistake could have sent debris into the cylinder.

Use compressed air around each plug before removing it. This small action matters. The U.S. Department of Energy explains that only about 12–30% of gasoline energy moves a conventional vehicle. Poor ignition wastes part of that limited output. A spark-plug socket and short extension should sit squarely on the plug. Loosen it slowly and stop if resistance feels abnormal. Cross-threading is expensive. I prefer removing one ignition component at a time, although working faster can seem tempting. The Environmental Protection Agency’s emissions rules require onboard systems to detect engine misfires, so a damaged connector or coil should not be ignored.

2026 How to Replace Spark Plugs Step by Step? - Locate the Spark Plugs and Remove the Ignition Components
Step Work Area Action Typical Tools or Materials Important Check Safety Note
1 Prepare the Vehicle Park on a level surface, switch off the engine, engage the parking brake, and allow the engine to cool completely. Wheel chocks, work light, protective gloves The engine should be cool enough to touch before removing components around the cylinder head. Do not work on a hot aluminum cylinder head because the threads can be damaged more easily.
2 Disconnect Power Disconnect the negative battery cable when required by the vehicle service procedure, especially before handling electrical ignition connectors. Insulated wrench or suitable socket Keep the disconnected cable away from the battery terminal to prevent accidental contact. Some vehicles may lose stored settings after battery disconnection; follow the applicable service instructions.
3 Locate the Spark Plugs Find the ignition coils or spark-plug wires on the cylinder head. Each ignition component normally leads to one spark plug. Vehicle service information, work light Identify the cylinder positions and note the routing of wires or connectors before removal. Do not pull on wiring or connectors to identify a component.
4 Clear the Work Area Remove covers, ducts, or other parts that block access. Label or photograph disconnected hoses and electrical connections. Screwdrivers, trim tools, labels, storage tray Store fasteners by location so they can be returned to their original positions. Keep removed parts and hardware away from the open spark-plug wells.
5 Remove Ignition Components For coil-on-plug systems, release the electrical connector, remove the retaining fastener, and lift the coil straight out. For plug-wire systems, twist the boot gently and pull it from the plug. Small ratchet, socket set, connector tool if needed Inspect the removed coil boot or plug-wire end for oil, moisture, carbon tracking, cracks, or corrosion. Pull on the boot or connector housing, not on the wire itself.
6 Clean the Spark-Plug Wells Use compressed air or a soft brush to remove dirt from around each plug before loosening it. Compressed air, soft brush, clean cloth The area around the plug should be free of debris to prevent contamination from entering the cylinder. Wear eye protection when using compressed air and keep the air stream away from skin.
7 Remove the Old Spark Plug Place the correctly sized spark-plug socket fully over the plug, loosen it counterclockwise, and lift it out carefully. Spark-plug socket, ratchet, extension, universal joint if required Compare the removed plug condition with the others and check for oil fouling, heavy deposits, cracked ceramic, or abnormal wear. If the plug is difficult to loosen, stop and follow the vehicle-specific removal procedure rather than forcing it.
8 Inspect the Openings Check the plug threads, sealing surface, and plug well. Clean only with methods approved for the engine and avoid dropping anything into the cylinder. Inspection light, clean cloth, approved thread-cleaning equipment Investigate oil or coolant in a plug well before installing new plugs because it may indicate a sealing or engine problem. Do not use abrasive material that can leave particles inside the cylinder or damage the threads.
9 Prepare for Installation Confirm that each replacement plug has the correct thread size, reach, seat type, heat range, and electrode specification for the engine. Correct replacement spark plugs, service specifications Check the electrode gap only when the service information permits adjustment; some plugs should not be adjusted. Never rely on a universal gap or torque value because specifications vary by engine.
10 Reinstall Ignition Components After the new plugs are installed according to the engine specification, refit each coil or plug wire to its original cylinder and reconnect all electrical connectors. Torque wrench, suitable socket, dielectric lubricant only if specified Verify that every boot is fully seated and every connector lock is engaged. Use the manufacturer-specified spark-plug torque; overtightening or undertightening can cause damage or combustion leakage.
11 Reassemble and Test Reinstall covers and ducts, reconnect the battery if it was disconnected, start the engine, and listen for smooth operation. Basic hand tools, diagnostic scanner if available Check for rough running, warning lights, unusual noises, or signs of an improperly connected component. If the engine misfires or a warning light flashes, switch it off and inspect the ignition connections before continued driving.

Remove the Old Spark Plugs Without Damaging the Engine

Remove the Old Spark Plugs Without Damaging the Engine

Let the engine cool completely before removing any spark plugs. A hot aluminum cylinder head can suffer damaged threads. Disconnect the ignition system, then clear dirt from the plug wells with compressed air. Small grains can fall inside the cylinder. That mistake is easy to make.

Remove each ignition coil or plug wire carefully, pulling from the boot rather than the cable. Mark their positions if the layout seems confusing. Fit a clean spark-plug socket straight onto the plug. Keep the extension aligned with the plug’s center. A tilted tool can crack the ceramic insulator.

Turn the socket slowly counterclockwise. If the plug feels unusually tight, stop and reassess. Forcing it may tear the threads or break the plug. I once rushed this step and spent extra time cleaning metal debris from the opening. Patience would have been cheaper. Apply a small amount of approved penetrating fluid only around the exposed threads, never inside the cylinder. Wait briefly, then work the plug with small movements. Do not use an impact tool.

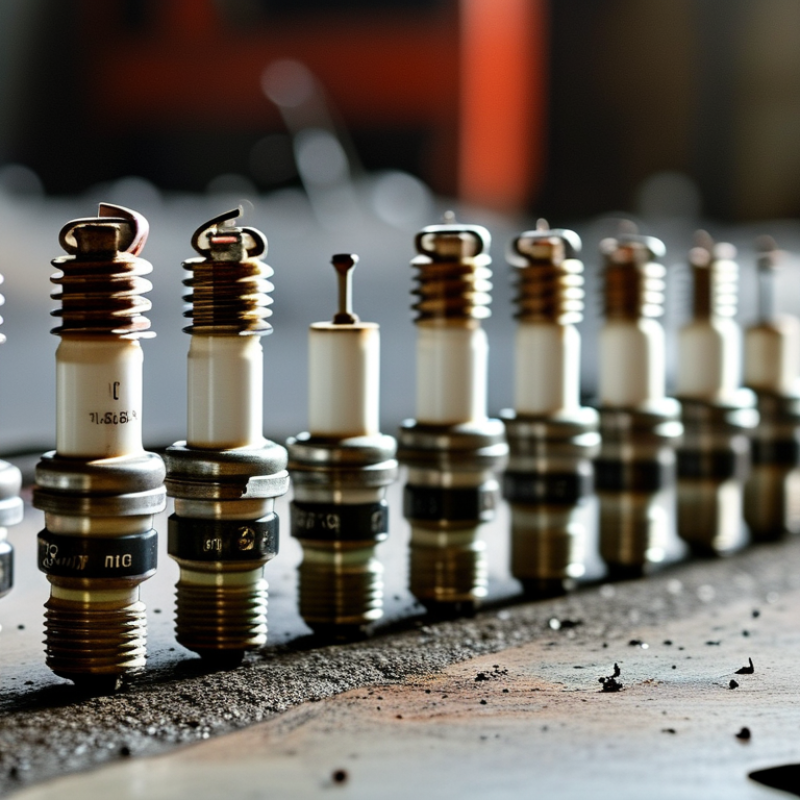
After removal, inspect the old plug for oil, heavy carbon, or a damaged electrode. These signs can point to deeper engine problems. Cover the open plug hole with a clean cloth while checking the remaining cylinders. Never leave loose dust nearby. Reliable removal is slow, controlled, and sometimes less satisfying than expected.

Install and Torque the New Spark Plugs Correctly

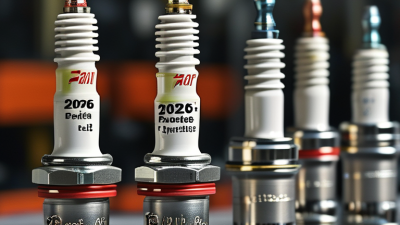
Remove one plug at a time, then compare the old tip with the replacement. Check the service manual for the correct plug type, gap, and torque value. A small gap error can affect ignition quality. Clean loose dirt around the plug well before removal. This prevents debris from entering the cylinder. Thread the new plug by hand, using only the socket and a short extension. It should turn smoothly for several rotations. If it binds, stop and inspect the threads.

Use a calibrated torque wrench for the final tightening. Do not guess by feel. Over-tightening can damage the cylinder-head threads, while under-tightening can cause heat transfer problems or combustion leakage. Keep the threads dry unless the service manual specifically permits lubricant. Many technicians also avoid unnecessary anti-seize because it can change the effective torque. The U.S. Department of Energy’s 2024 Fuel Economy Guide stresses regular maintenance for preserving fuel economy. The U.S. EPA’s 2024 Automotive Trends Report recorded average new-vehicle fuel economy at 27.2 mpg for model year 2022, so correct ignition service still matters.

Tips: Keep the new plug’s ceramic insulator clean. Press the ignition coil or boot straight down until it seats firmly. Reconnect every electrical plug before starting. I still recheck the torque sequence, even on familiar engines. A rushed job feels efficient, but it often creates the second repair. Start the engine and listen for an uneven idle. If a warning light appears, stop and scan for misfire codes rather than continuing to drive.

Reconnect the Ignition System and Test the Engine Performance

After installing the new spark plugs, reconnect the ignition system carefully. Make sure every ignition coil sits fully over its spark plug. The rubber boot should feel firmly seated, not loose or twisted. Reattach each electrical connector until its locking tab clicks. Check the wiring path around the engine. It must stay away from hot exhaust parts and moving belts.

Reconnect the negative battery terminal if it was removed. Before starting the engine, inspect the work area once more. I once found a connector that looked attached but was not locked. Small mistakes can create rough running or a warning light. Keep hands, tools, and loose clothing away from moving components.

Start the engine and let it idle for several minutes. Listen for misfires, sharp ticking, or uneven engine speed. A smooth idle is encouraging, but it does not prove everything is perfect. Lightly press the accelerator and watch for hesitation. Check the instrument panel for warning messages. If the engine shakes, switch it off and inspect the coil connections and plug seating again. Do not ignore a flashing warning light. After the idle test, take a short drive on a safe road. Accelerate gently and notice power delivery, vibration, and unusual smells. Recheck the engine bay after the engine cools. A final inspection may reveal a loose connector that the first test missed.